
Unleash The Power Of Grit Zones


Surface Smoothness
- Eliminates defects in the primer, such as drips, runs, or uneven application.
- Ensures a flat, professional-looking surface for the paint to adhere to.
Feathering Edges
- Blends the primed area seamlessly with the surrounding surface.
- Prevents visible transition lines in the final paintwork.
Ensured Adhesion
- A well-prepared primer surface maximizes paint adherence.
- Reduces the risk of peeling, flaking, or bubbling over time.
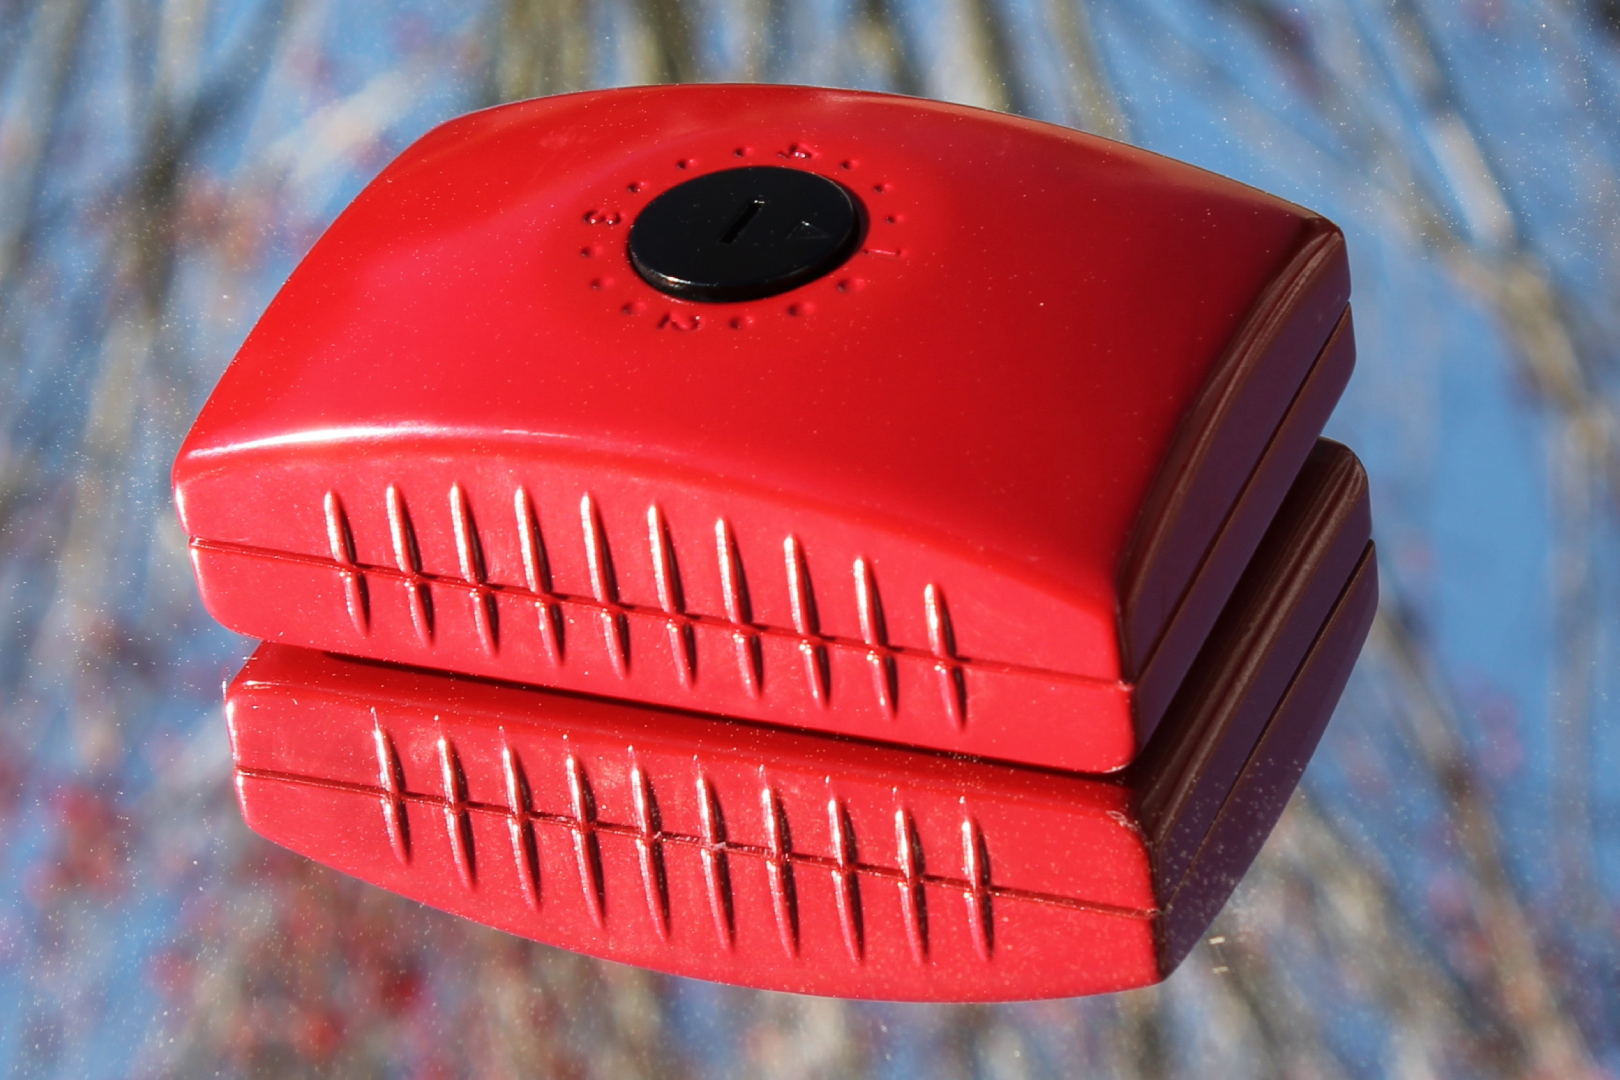
FORCED G.R.I.T.
Listen

- Seamless Grit Transition
Effortlessly shift between grit levels to suit each stage of repair.

- Precision in Sanding
- The FORCED G.R.I.T tool’s magnetic memory feature ensures that sandpaper remains parallel to the surface, allowing for even and controlled sanding.

- Body Filler Shaping
- Use P220–P280 grits to shape body filler and level imperfections. Ensure smooth transitions between filler and the panel for a professional finish.

- Effortless Operation
- The magnetic attraction allows the tool to do a significant amount of work, enabling the user to guide it comfortably and effectively, which is crucial when working on intricate repairs.
FORCED G.R.I.T.
Listen

- The Importance of Prep Blocking After Priming
- When working with galvanized panels, prep blocking plays a crucial role in ensuring a smooth, even surface for painting.

- Why Choose the GRIT Paint Prep Zone for Galvanized Panels?
- Creates a clean, smooth surface that maximizes paint adhesion and durability.

- FORCED G.R.I.T Technology: Elevating Prep Blocking
- Designed to prevent over-sanding, ensuring the primer layer remains intact while achieving a smooth finish.

- Surface Uniformity
- Eliminates defects in the primer layer, such as uneven texture, runs, or high spots.
- Ensures a flawless, level surface to enhance the overall appearance of the final paint finish.
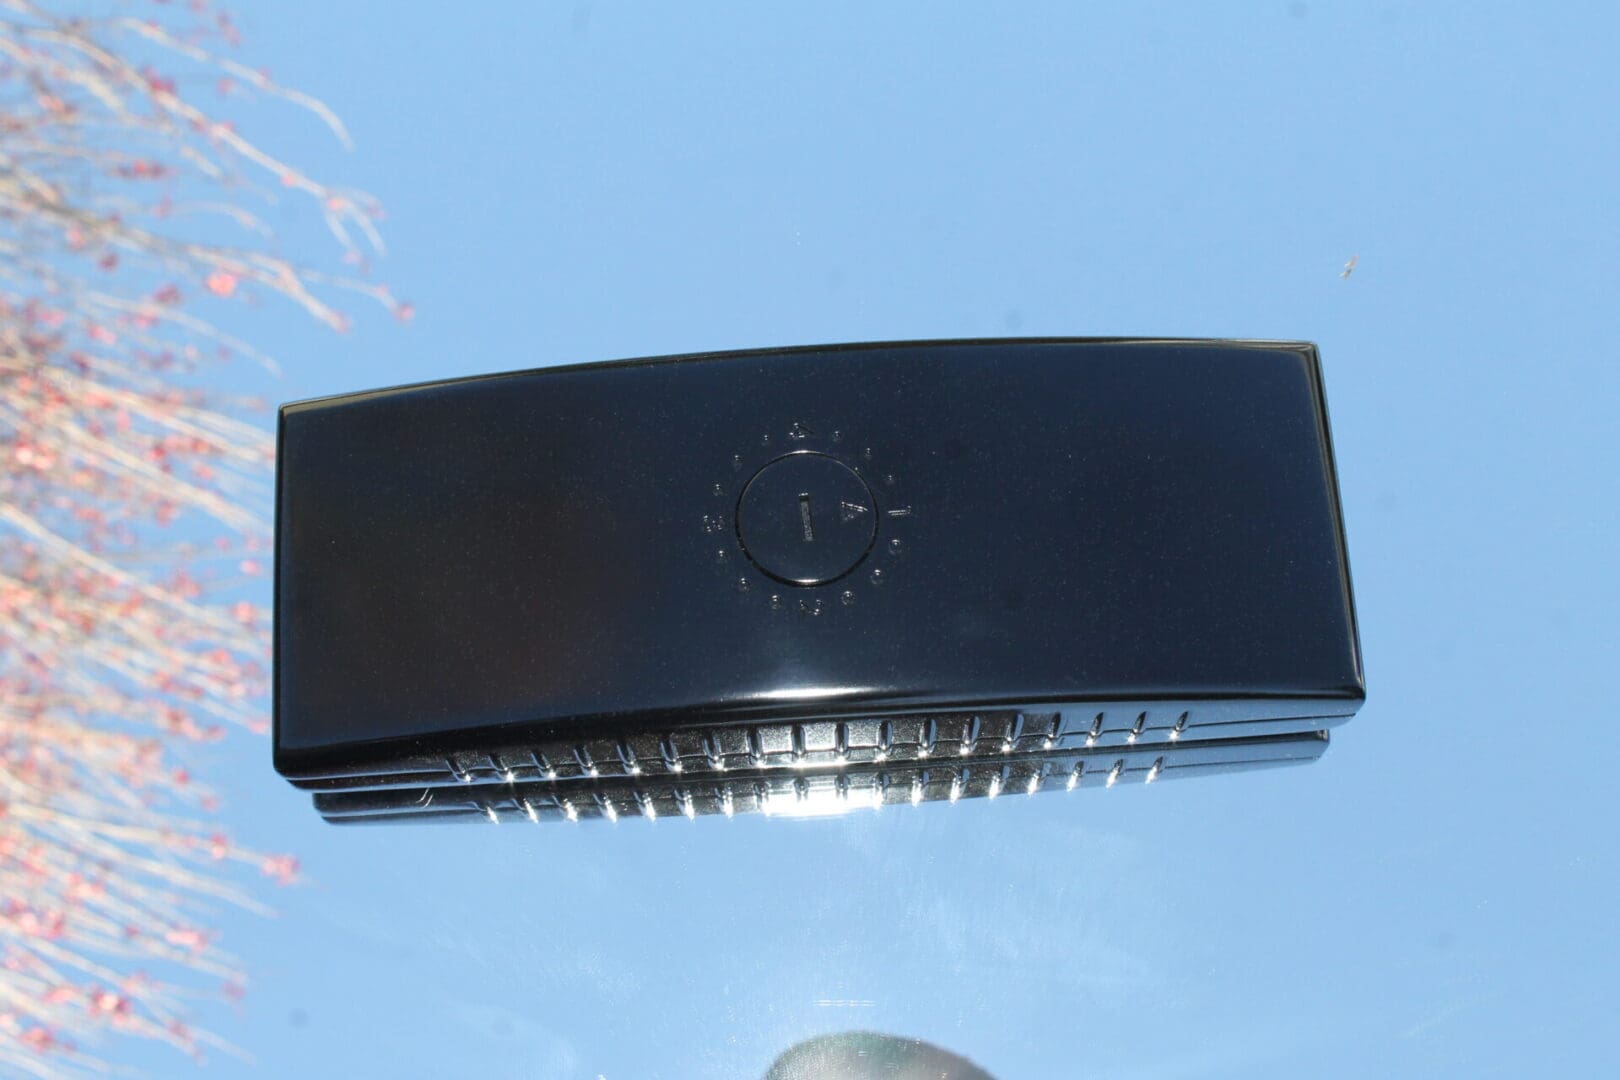
Listen

- Targeting Upper Mills of Clear Coat
- The tool’s design allows technicians to focus on the top one or two mills of the clear coat.
- This precision ensures sags and runs are effectively smoothed without compromising the lower layers or the base coat beneath.

- Magnetic Memory Technology
- The magnetic memory feature keeps the sandpaper perfectly parallel to the panel surface, ensuring consistent and controlled sanding.
- It minimizes the risk of accidental sanding through the clear coat, which can lead to costly rework and quality issues.

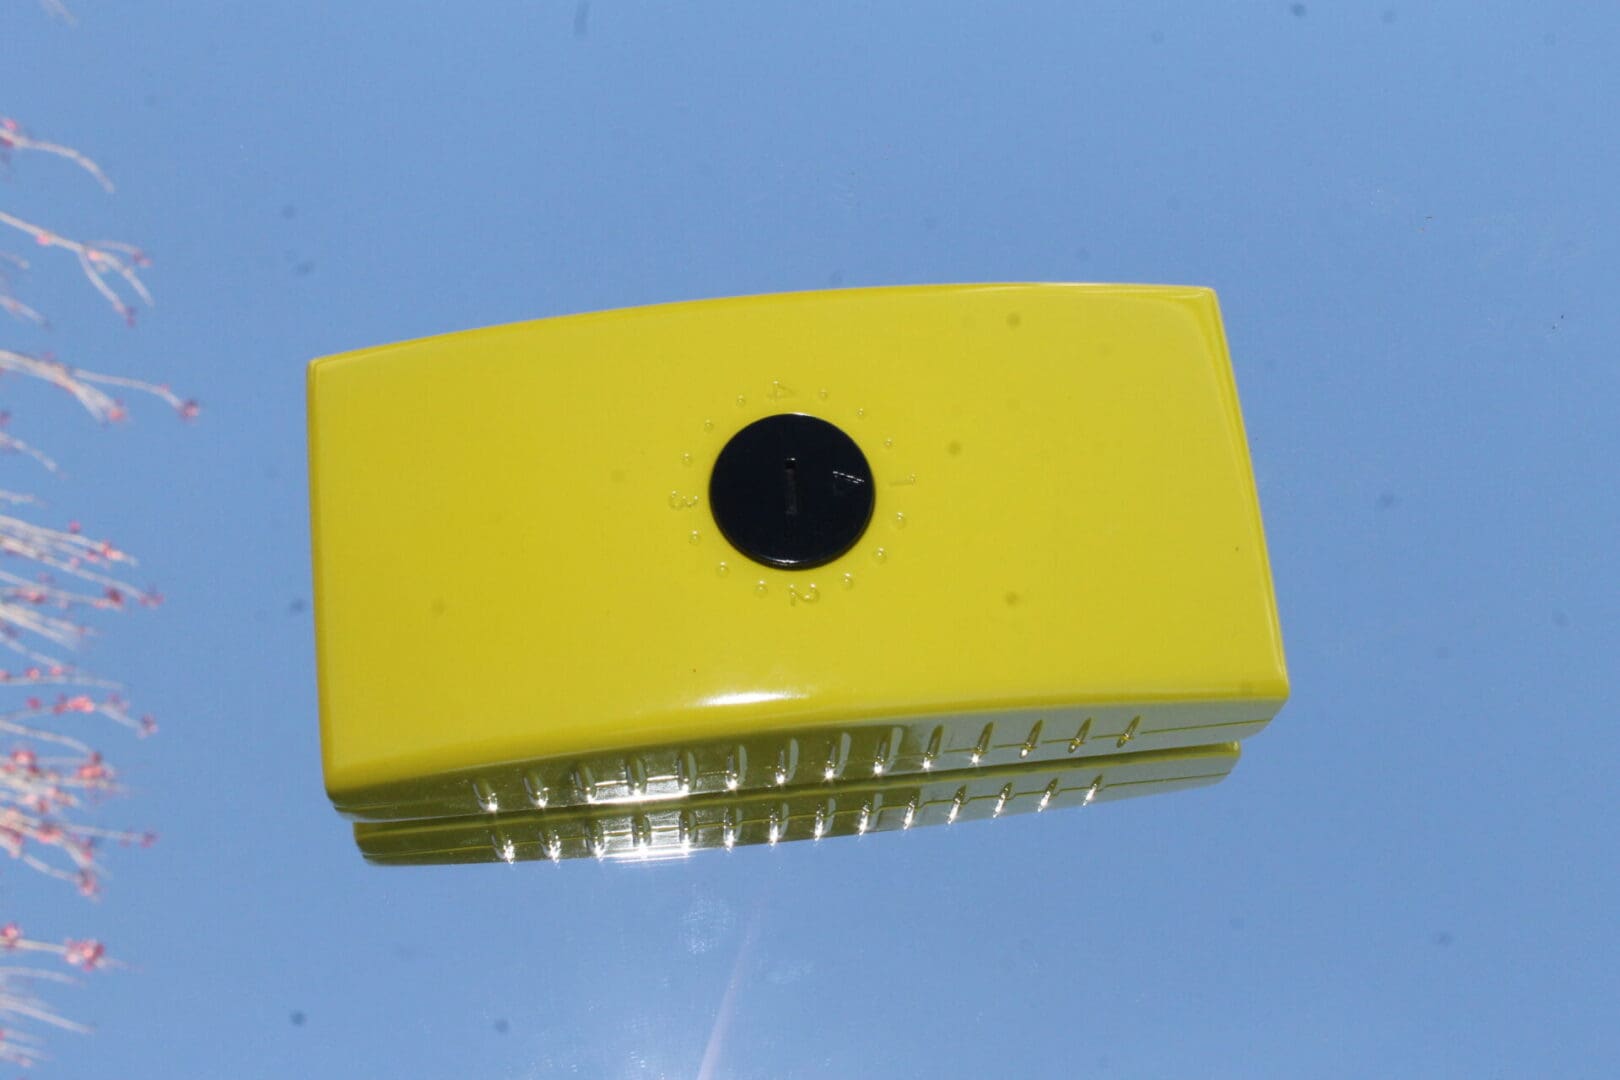
- Sanding
- Set the FORCED G.R.I.T tool to the selected grit level within the Grit Polish Buff Zone.
- Begin sanding with light, even pressure, focusing on the upper one or two mills of the clear coat.

- Benefits of Using the Grit Polish Buff Zone for Clear Coat Repairs
- Efficiency and Adaptability
- The wide grit range and adjustable dial allow for seamless transitions, making the tool versatile for all stages of clear coat refinement.